
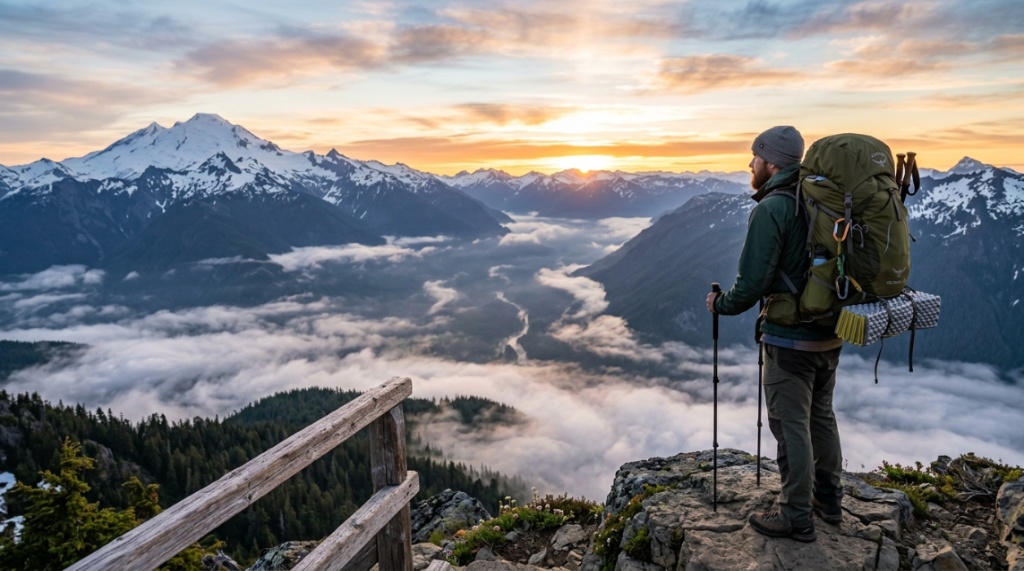
06 Aug How to Buy a Camping Backpack for Washington Adventures
You’ve finally carved out the weekend, the forecast looks promising, and the Cascades are calling your name. But then you look at your gear—a crumpled gym bag, a worn-out school pack, and a duffel that’s seen better days. Sound familiar? Heading into Washington’s rugged terrain with inadequate gear is a recipe for back pain, wet clothes, and a miserable trip. This guide will help you select the perfect camping backpack for Washington adventures, ensuring your focus stays on the alpine views, not on your aching shoulders.
We’ll break down everything from volume and fit to waterproofing and suspension systems. Let’s get you trail-ready.
Why Is Choosing a Washington-Specific Backpack So Important?
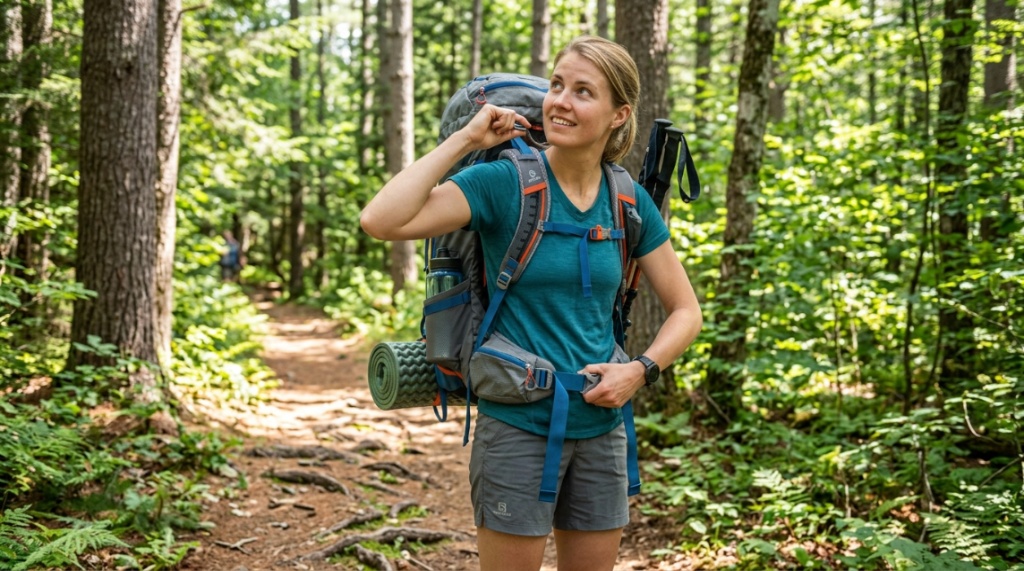
Washington is not your average hiking destination. It presents a unique set of challenges that demand specific features from your gear. You aren’t just carrying weight; you’re carrying weight through rain, wind, and steep elevation gains.
Unlike the dry trails of the Southwest or the flat paths of the Midwest, the Pacific Northwest requires a pack that can handle moisture and heavy loads simultaneously.
Understanding the “Big Three” Environmental Challenges
To buy correctly, you must first understand the enemy. Washington’s environment boils down to three primary stressors:
- Relentless Precipitation: The rainforests of the Olympic Peninsula and the western slopes of the Cascades receive over 100 inches of rain annually. Your pack needs superior water resistance.
- Dramatic Temperature Swings: You can start a hike in 70-degree sunshine at the trailhead and summit in 30-degree winds with snow. Layering is essential, and your pack must accommodate bulky layers.
- Steep, Unforgiving Terrain: The “Evergreen State” is notorious for relentless switchbacks and high elevation gains. Weight distribution isn’t a luxury; it’s a necessity to prevent injury.
Weight Distribution vs. Weight Capacity
Many hikers confuse capacity (how much it holds) with distribution (how it feels). A pack that holds 70 liters but doesn’t transfer weight to your hips will ruin a 10-mile hike. Washington trails require a pack that locks the load to your body to prevent swaying on uneven terrain.
The “Gym Bag” Mistake
If you are currently using a duffel bag or a standard school backpack, you are actively risking your safety. These bags lack load-transferring hip belts and ventilation. On a steep descent, a shifting load can throw off your balance, leading to falls or knee strain.
How Much Backpack Volume Do You Really Need in Washington?
Volume is the first mathematical decision you must make. As a rule of thumb: you need at least 50 liters for an overnight trip and 60–70 liters for a multi-day expedition. However, the weather dictates the specifics.
Because Washington requires bulkier rain gear and insulating layers, you need more “fluff space” than you might think.
Day Hikes: 20–35 Liters
For a short day trip to Rattlesnake Ledge or a scramble up Mount Si, a 20-35 liter pack is sufficient. You only need room for a 3L water bladder, a puffy jacket, lunch, a first aid kit, and a rain shell. Key here is accessibility—you want a top lid or front panel pocket to grab your rain jacket quickly when a squall hits.
Overnight Trips: 50–60 Liters
This is the “sweet spot” for most Washington backpackers heading to the Alpine Lakes Wilderness. You need volume for a 2-person tent (split), sleeping bag, pad, stove, and 2-3 days of food. Look for models with an expandable collar to allow you to strap gear to the top if your bear canister takes up too much room.
Extended Expeditions: 65+ Liters
For week-long treks like the Wonderland Trail or the Pacific Crest Trail section thru-hikes, you need 65 to 80 liters. You often need to carry more fuel and a bear canister (required in many regions). Don’t just grab the biggest one, though—a massive pack that isn’t full will sit awkwardly and cause the load to shift.
Which Suspension System Fits Your Waist and Torso?
The suspension system is the “chassis” of the backpack. It consists of the internal frame, the hip belt, and the shoulder straps. If they don’t fit, it doesn’t matter how many pockets the pack has—you will be miserable.
Your hip belt should carry 80% of the load, not your shoulders.
Measuring Your Torso Length
Most people buy the wrong size. To find your torso length, tilt your head forward and find the bony bump at the base of your neck (C7 vertebra). Place your hands on your hips and put your thumbs backward—that’s your iliac crest. Measure the distance between the two points. That is your torso length.
- Small: 15–17 inches
- Medium: 17–19 inches
- Large: 19–21+ inches
Load-Lifter Straps: Your Secret Weapon
Located at the top of the shoulder straps, these pull the pack closer to your body. In Washington, where you often lean forward on steep climbs, these straps are vital for keeping the weight from falling backward. If your pack doesn’t have these, skip it.
Frame Materials: Aluminum vs. Carbon Fiber
Aluminum frames are heavier but practically indestructible—great if you crash or fall on rocks. Carbon fiber is lighter, but it can crack if you use your pack as a sled for glissading (sliding down snow slopes), a common activity in the Cascades. For durability, stick to aluminum or a composite blend.
What Material Can Survive Washington’s Rainforests?
Water resistance is your top priority. But “water-resistant” and “waterproof” are not the same thing. A standard pack will soak through after 30 minutes of continuous rain.
Look for fabrics with a high denier rating (grams per square meter) and a polyurethane coating, or invest in a pack made from Dyneema or treated nylon.
The Great “Dyneema vs. Nylon” Debate
Dyneema Composite Fabric (DCF) is the ultralight king. It is waterproof and incredibly light, but it is also expensive and prone to punctures. For most hikers, a robust 210D or 420D Robic Nylon with a waterproof coating is the better choice for heavy bushwhacking and rock scrapes.
Seams and Zippers: The Weak Points
Water gets in through the stitches and the zippers. Look for packs with thermally taped seams and water-resistant (YKK AquaGuard) zippers. If the pockets have standard zippers, plan to put your electronics inside a dry bag regardless of the pack fabric.
Included Rain Covers: Do They Work?
Most packs come with a rain cover stored in a bottom pocket. While they work in a light drizzle, they fail in heavy wind—water gets blown up the sides. For a camping backpack for Washington adventures, you should consider using an internal liner (a trash bag or pack liner) as your primary defense and the rain cover as a secondary defense.
How Many Pockets and Compartments Are Too Many?
It seems counterintuitive, but fewer pockets can actually make your trip easier. While organization is good, too many compartments create unused space and add unnecessary weight.
You need a “front-loading” panel rather than just a top-loading sack. A U-shaped zipper that opens the entire front allows you to access gear at the bottom without taking everything out—crucial when it’s raining.
The Essentials: Deep Hip-Belt Pockets
You need to access your lip balm, sunblock, and snacks without stopping. Deep hip-belt pockets are a must-have. They should be large enough to hold a smartphone. If the pockets are too shallow, your items will bounce out on the trail.
The “Shove-It” Pocket
This is a large, open pocket usually on the back panel. It’s perfect for stuffing a wet rain jacket or a tent fly quickly. This pocket should have a drain hole at the bottom to let water escape.
The Side Bottle Pockets
Make sure these are angled forward. If they are straight up and down, you won’t be able to reach your bottle while wearing the pack. Angled pockets allow you to swing your arm back and grab your water without unclipping your hip belt.
Can You Carry a Bear Canister Inside?
Washington State has specific food storage regulations, particularly in the North Cascades and the Olympic National Park. While some areas allow hanging, many require a hard-sided bear canister (often rented at trailheads).
Your pack must be able to fit a standard 8″ x 12″ canister vertically inside.
Why Sizing Matters Here
If you buy a 50-liter pack, you should subtract about 10 liters of space for the bear canister. If you are hiking in the Olympic National Park (where canisters are mandatory), you should add 10-15 liters to your base volume calculation.
Hip Belt vs. Shoulder Strap Attachments
If you don’t want the canister inside, check if the pack has secure lashing points on the outside. A canister strapped to the top of the pack can make you top-heavy. Try to find a pack with a lower side compression strap that can hold it horizontally.
When Should You Consider a “Frameless” Ultralight Pack?
The ultralight movement has convinced many hikers that they need to shave weight at all costs. However, frameless packs are dangerous for the average Washington hiker.
Frameless packs require that you carry 20 lbs or less. With water and extra layers, crossing that threshold in Washington is easy.
The Floor of Comfort: 25 Pounds
Once you hit 25 pounds, a frame is essential. The frame transfers the load from the shoulders to the hips. Without it, you compress your spine and fatigue quickly. For a 3-day trip, you’ll likely be at 30-35 lbs with food and water.
Where Ultralight Works
Frameless works for summer fastpacking in the Eastern Washington high desert (like the Channeled Scablands) where it is dry, and you can filter water often. It does not work well for the Hoh Rain Forest where you might need to carry 2 liters of water through muddy, slippery terrain.
The Investment in Comfort
Adding a frame adds roughly 1-2 pounds to the pack’s weight. That is a small price to pay for the structural integrity that prevents your food and gear from jabbing you in the back.
How to Test a Pack Before You Buy
Unless you are buying purely online, you should go to a physical store with a weighted loader (beans or weights) and walk around for at least 15 minutes. The “5-minute test” isn’t enough.
You need to simulate a hike to feel the pressure points.
The “Beans” Method
Stores like REI have weighted sacks you can put inside. Fill the pack to about 80% capacity. Tighten the straps and walk the store. Do you feel the weight on your shoulders? If yes, loosen the shoulder straps and tighten the hip belt. The hip belt should sit over your hip bones, not your belly button.
Testing the Range of Motion
Stand in the aisle and try to do a full squat. Does the pack ride up and hit your helmet? Does it restrict your arm swing? Washington trails often require scrambling over logs. Your pack needs to move with you, not push you down.
Check the Adjustability
Try a friend’s pack with a different torso length. If you are between sizes, look for packs with an adjustable torso (like many Osprey models use Velcro). This allows custom fitting now and in the winter when you wear thicker layers.
What Are the Top Extras That Matter for the PNW?
Aside from the main body, there are specific accessories and design features that distinguish a good pack from a great Washington pack.
These extras save time and solve problems before they occur.
Ice Axe/Trekking Pole Attachments
If you plan on reaching any snowy summit (like the shoulder of Mount Adams), look for a “Trekker” style attachment loop. This allows you to slide your ice axe shaft into the loop and strap it down without taking off your pack. It keeps the points facing away from your face.
Stow-and-Go Raincover Design
Some packs have a dedicated pocket for the rain cover that sits flush against the pack body. If the cover is in a giant flapping external pocket, it will catch wind and whack you in the back. A stow-and-go design is integrated and streamlined.
Bright Interior Liners
This might sound silly, but it matters. A bright yellow or orange interior liner allows you to see your black sleeping bag at the bottom of the pack on an overcast day. Avoid packs with dark grey or black interiors—they are a “bottomless pit” of gear.
Recommended Pack Size by Trip Type
To summarize the decision matrix, here is a quick comparison table to help you lock in your first choice. Use this as a baseline before you head to the store.
| Trip Type | Volume Range | Key Requirement | Ideal Frame |
|---|---|---|---|
| Day Hiking (Rainier Vista) | 20-35 L | Hip Belt Pockets & Rain Jacket Access | Light Frame or Frame-Plate |
| Over Night (Alpine Lakes) | 50-60 L | Compact but must fit tent inside | Internal Stay Frame |
| Multi-Day (Wonderland Trail) | 65-75 L | Bear Canister Compatibility | Heavy Duty Aluminum Frame |
| Winter Snowshoeing | 60-70 L | Dedicated Gear Loops & Ski Carry | Dual Perimeter Frame |
Spend time with this table. If you budget for a 65-liter pack, you can use it for both overnight trips (by compressing it) and week-long trips (by filling it up).
Budgeting: How Much Should You Spend?
Let’s talk money. A good backpack is the single most important piece of gear you will buy. It lasts ten years if maintained. Do not skimp here, but also don’t buy the most expensive one just because it has a brand name.
You can expect to pay between $200 and $400 for a reliable, durable pack. Spending over $500 gets you into ultralight carbon-fiber territory which offers diminishing returns for standard hikers.
Where to Save Money
You don’t need the “Gossamer Gear” style ultralight pack if you are a weekend warrior. Save your money on the brand name and spend it on a proper fitting session at a reputable outfitter.
Where to Spend Money
Spend your money on the hip belt construction and the fabric. A fully wrap-around molded hip belt is worth the money. It prevents chafing and pressure points. Check the strap buckles—they should be high-density and click firmly. Custom fitting is often free if you buy in store—take advantage of this.
Frequently Asked Questions
Can I use a military surplus backpack for hiking in Washington?
While military packs are durable and cheap, they are often excessively heavy and poorly ventilated. They lack the ergonomic hip belts designed for long-distance trekking. You will likely get a sweaty back and an aching neck.
Is a waterproof backpack necessary if I use a liner?
No. In fact, many Pacific Northwest hikers prefer a “water-resistant” pack plus a waterproof dry-bag liner. This allows water to drain out of the pack (through holes) instead of turning the pack into a heavy bathtub. However, a fully waterproof pack is excellent for canoeing trips.
How tight should the hip belt be?
The hip belt should be snug enough to prevent the pack from moving, but not tight enough to cut off circulation. You should be able to slide two fingers comfortably between the belt and your hip bone. Tighten the belt first, then just snug the shoulder straps to keep the pack resting on your back.
Should I buy a larger pack to “grow into” it?
No. Buying a larger pack than you need encourages you to carry more weight than you should. A 70-liter pack filled with only 30 pounds of gear does not sit properly; the load shifts and the pack becomes top-heavy. Buy for your specific trip length.
How do I clean my camping backpack after a muddy trail?
Remove all loose dirt with a brush, then hand-wash the pack in a bathtub with cold water and a mild soap (like Nikwax Tech Wash). Never put it in a washing machine, as the agitation cracks the coats and damages the frame. Air dry it completely before storing.
How often should I replace my backpack?
With proper care and regular cleaning, a high-quality backpack can last 10 to 15 years. Check for fraying straps on the load-lifters and cracks in the hip belt plastic. If the mesh on the back panel is stretching out and the frame is exposed, it’s time for a replacement.
Conclusion: Ready for the Pacific Northwest Trail?
Choosing the right backpack for Washington adventures is about more than just looking the part—it’s about protecting your body and ensuring your safety in unpredictable weather and rugged terrain. You now know the key factors: volume (50-70L for overnights), proper torso fit, aluminum frame durability, and robust water resistance. Remember, the hip belt is your best friend, and a bear canister requires extra internal space.
The mountains of Washington are unforgiving to those who are unprepared, but they reward the well-equipped. Take the time to measure your torso. Go to a store and load the pack with weight. Walk around and test the suspension. With the right pack strapped to your hips, you’ll be free to enjoy the alpine air, the dense forests, and the stunning glaciers that define the Evergreen State. Don’t let a bad pack ruin your adventure—make the right investment today, and hit the trail with confidence.

No Comments